
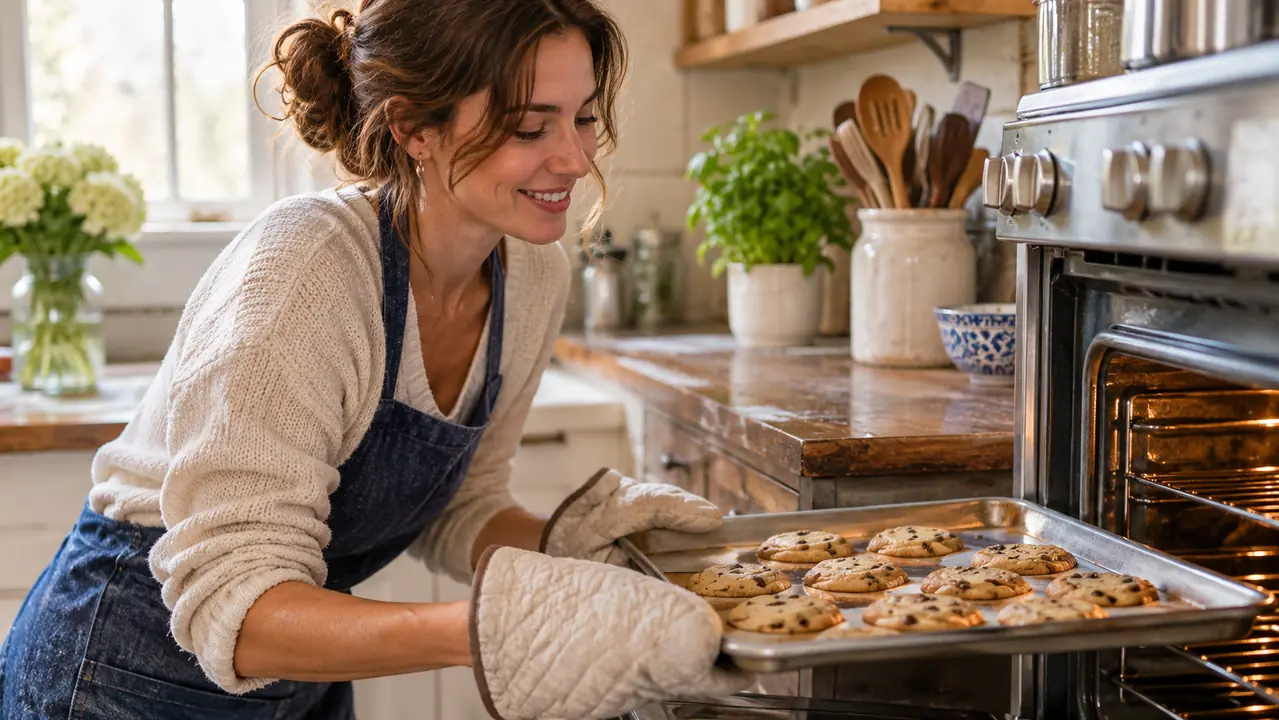
If your cookies come out of the oven with beautiful tops and nearly black bottoms, the problem is usually not your recipe and not your oven. It is the pan. I learned this the slow way, over years of parish bake sales, with a kitchen full of dark nonstick sheets that had seen better days. Every batch looked fine on top. Every batch tasted scorched underneath. Then I switched to a plain aluminum half sheet, the Nordic Ware Naturals, and the difference showed up in the very first batch. That first batch was chocolate chip, made from the same dough I had been using for years, baked at the same temperature, on the same rack. The tops browned the way they should, and for once the bottoms matched. I pulled the sheet out at nine minutes, let the cookies rest on the pan for two, and every single one came off clean. I stood there in the kitchen and laughed, because it had never once occurred to me that the pan was the problem.
This guide walks through the five things that stopped my cookies from burning on the bottom: the pan itself, the rack position, parchment, a cooler dough, and a simple oven test. None of it is complicated. Most of it costs nothing. And all of it works in a standard electric oven like mine, the kind that runs a little hot and has no fancy settings. I have tested each step over many batches, not just once, and these are the ones that held up. If you only change one thing, change the pan. If you change two, add the rack position.
The pan that fixed my burnt bottoms
A bare aluminum half sheet conducts heat evenly and lets cookies brown at the same pace on top and bottom. The Nordic Ware Naturals half sheet is the one I reach for every weekend now.
Amazon Check Today's Price on Amazon →Step 1: Switch to a bare aluminum sheet pan
Dark pans absorb heat much faster than light ones. That is why the same recipe, baked on the same rack, comes out fine on a shiny pan and burnt underneath on a dark one. The dark surface pulls heat into the dough from below, so the bottom finishes long before the top has set. If your go-to sheet is dark nonstick, that is very likely your culprit. I kept two dark nonstick sheets for years because they were nonstick and easy to clean, and I blamed my oven for every scorched batch. It was not the oven. It was the color of the pan, or more exactly the way that dark color soaked up heat.
The Nordic Ware Naturals half sheet is bare aluminum, and that changes the math. Aluminum conducts heat quickly and evenly, so the pan comes up to temperature fast, but it does not store and dump heat the way a dark pan does. The result is a cookie that browns evenly across the top and the bottom instead of charring on one side. The pan measures 17.9 by 12.9 by 1 inches on the outside and 17.1 by 12.1 by 1 inches on the inside, which is the standard half sheet size that fits in my oven with room to spare. I can fit two pans on one rack if I turn them the long way, but I rarely do, because one sheet at a time gives me the most even results. The rim is encapsulated galvanized steel, which is what keeps the pan from warping over time.
One note: bare aluminum will darken and patina over time. That is normal and it does not affect baking. What matters is that the pan stays flat. Nordic Ware builds these with an encapsulated galvanized steel rim that resists warping, and after many batches mine still sits perfectly flat on the rack. A warped pan tilts toward the heat source and gives you burnt edges and pale centers, so flatness is not a cosmetic detail. I check mine a couple of times a year by setting it on the counter and pressing the corners. It has not moved, and I do not expect it to.
Step 2: Move the rack to the center
Most standard ovens have their heating element at the bottom. If your rack is in the lower third, the pan sits close to that element and the bottoms of your cookies take the full blast. Moving the rack to the center position puts more air between the dough and the heat source, which gives the tops time to catch up. In my oven, that is the second rack position from the bottom. It took me one ruined batch to learn this. I had the rack in the lowest slot because that was where I roasted vegetables, and I never thought to move it for cookies.
I bake one sheet at a time on the center rack. It is slower than cramming two sheets in at once, but it is reliable. When I tried two sheets at once, the lower one always came out darker, and rotating them halfway only traded one problem for another. One sheet, center rack, every time. If a recipe says to rotate the pan halfway through, I do it with the oven door open just long enough to turn the pan around, then close it fast. The temperature recovers quickly because I am not leaving the door open. This is the kind of small habit that does not seem important until you see the difference in the finished cookie.
I also tried the rack one position above center, thinking more distance from the bottom element would help even more. It did help the bottoms, but the tops browned too quickly and the cookies finished unevenly. Center is the balance point in my oven. Your oven may differ by an inch or two, so test one batch on the center rack and one on the rack above it, and keep the one that gives you an even top and bottom.
Step 3: Use parchment, not grease
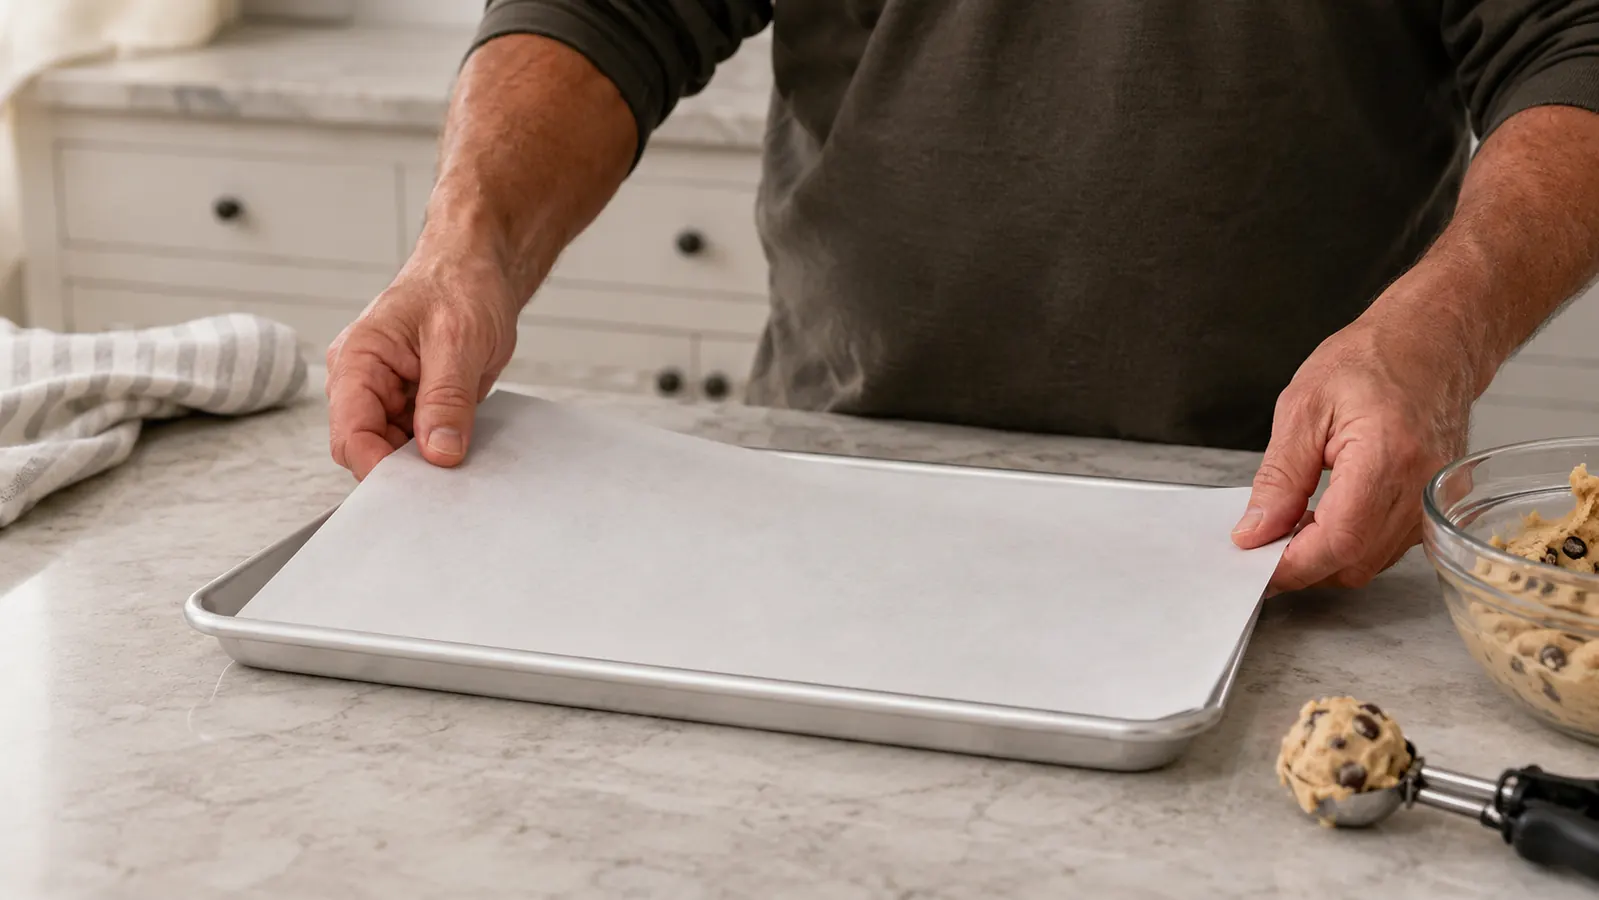
Greasing the pan, or baking directly on the aluminum, leaves the dough in direct contact with the metal. Parchment adds a thin airy layer between the dough and the pan, which slows the heat transfer just enough to protect the bottom. It also makes cleanup almost effortless, which matters when you are baking six dozen cookies for the bake sale. The first time I tried it, I was skeptical. It seemed like a fussy extra step. Then I baked two identical batches back to back, one directly on the aluminum and one on parchment. The parchment batch had lighter bottoms and came off the pan without a spatula. That settled it.
I tear a sheet of parchment to fit the pan and reuse it for the whole batch. The edges curl a little, but the cookies do not care. If you are worried about the paper sliding around, a tiny dab of butter under each corner holds it in place. Do not use wax paper for this; it is not heat safe at baking temperatures and it will smoke. I cut my parchment sheets to fit the interior of the pan, about 17 by 12 inches, so there is no overhang to catch on the oven rack. When the batch is done, I lift the whole sheet onto the counter and the cookies cool while the pan is ready for the next round.
Step 4: Chill the dough before baking
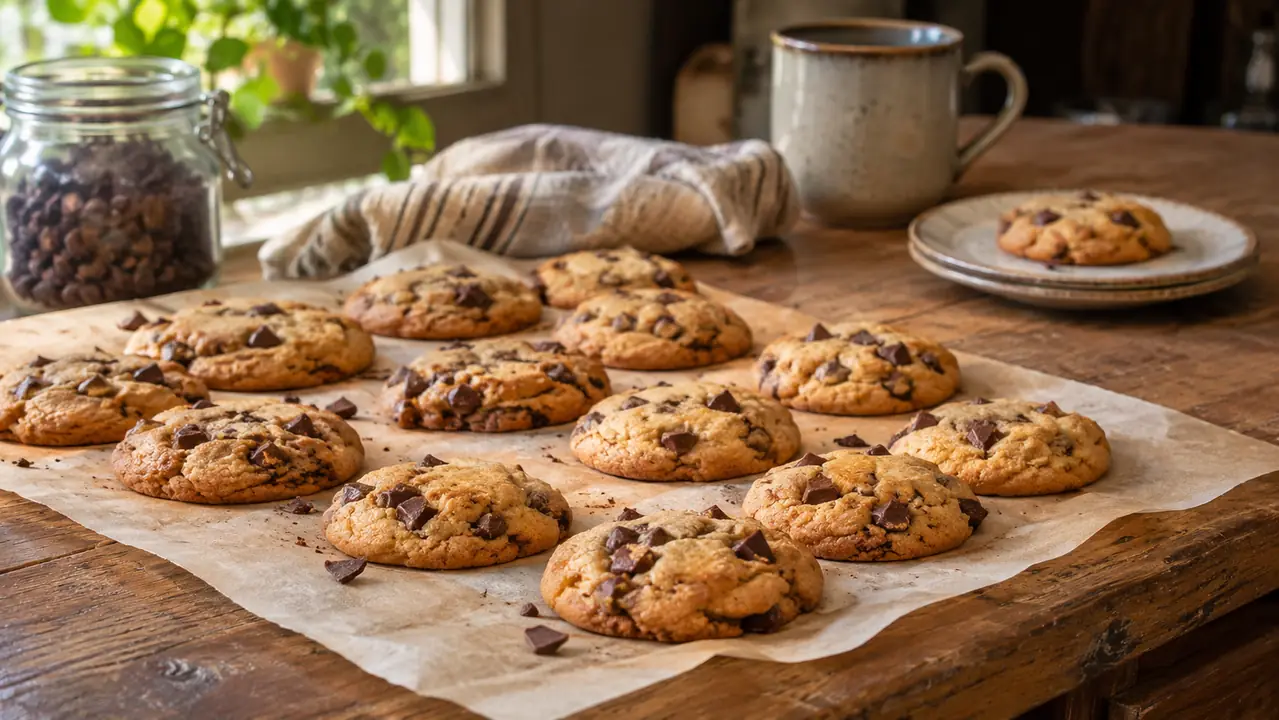
Warm dough spreads fast, and thin, wide cookies burn on the bottom before they finish baking. Chilling the dough for 30 minutes to an hour slows that spread. The cookies hold their shape better, bake more evenly, and the bottoms do not get a head start on the tops. I noticed this most with a brown sugar cookie recipe that had always come out flat. Warm, the dough spread into thin disks in the first four minutes of baking. After 45 minutes in the fridge, the same dough held a rounded shape and baked through at the same time as the tops browned. Same recipe, same pan, same oven. The only difference was the temperature of the dough.
This step matters most for butter-heavy recipes, which is most of the good ones. I scoop the dough onto the parchment-lined pan, then slide the whole pan into the fridge while the oven preheats. When the oven is ready, the pan goes straight from the fridge to the center rack. It adds a little time to the process and saves a lot of scorched batches. If I am baking several batches, I scoop all the dough onto parchment-lined pans first, stack them in the fridge, and pull one pan out at a time. That way the dough stays cold while the previous batch bakes. It has cut my burnt-bottom batches down to almost none.
One more thing about chilling: it does not have to be a long rest. Thirty minutes made a measurable difference in my kitchen, and a full hour was even better. I would not go much beyond two hours for most drop cookies, because the dough can dry out on the surface and the cookies can crack as they bake. Thirty to sixty minutes is the sweet spot.
Step 5: Test your oven with a simple batch
Every oven lies a little. Mine runs hot, and yours probably does too. Instead of guessing, run a test: bake a single small batch of your usual cookie recipe on the center rack, on the bare aluminum pan with parchment, and watch the bottoms at the earliest suggested bake time. If they are already dark, your oven runs hot and you should set the temperature lower next time by however many degrees your oven thermometer shows it running hot. I did this with a batch of sugar cookies on a Sunday afternoon. The recipe said 350 degrees for 10 to 12 minutes. At 8 minutes the bottoms were already darker than I liked, so I pulled them. That told me my oven was running hot, and it explained every scorched batch I had made for years.
An oven thermometer is worth the small cost. Set it on the center rack, preheat for a full 20 minutes, and read what it says compared to the dial. Most ovens are off by more than people expect. Knowing your oven's actual temperature turns baking from a gamble into a repeatable process, and it will fix more than just cookies. My thermometer read 365 when the dial said 350. I now set the dial to 325 for most cookie recipes, and the results are consistent batch after batch. The same test will tell you if your oven runs cold, which is less common but just as useful to know.
I keep a small notebook on the counter and write down the dial setting, the thermometer reading, and the bake time for each recipe. After a month, I had a page for every cookie I make regularly. That notebook is worth more than any gadget in my kitchen.
What Else Helps
A few smaller things made a difference once the pan and rack were sorted. I let the pan cool completely between batches; putting dough on a hot pan gives the bottoms a head start. I also stopped doubling recipes in the same bowl, because overmixed dough spreads differently. And when a recipe says to rotate the pan halfway through, I actually do it, even though it feels fussy. Small habits, but they add up to cookies that come off the pan clean and golden. I also take the butter out of the fridge about an hour before I mix, so it is soft but not melted. Melted butter makes a wetter dough that spreads faster. And I measure flour by spooning it into the cup and leveling it, rather than scooping, because scooping packs the flour and changes the dough. These are small things, but they all affect how fast the cookie bottom browns.
One more honest note: no pan fixes a recipe that is too wet or an oven that is wildly off. The Nordic Ware Naturals sheet fixed the burnt bottoms in my kitchen because the problem was the pan. If your dough is spreading into puddles, or your oven is 50 degrees hotter than the dial says, fix those first. The pan will do its part once everything else is in line. I learned that the hard way with a batch of oatmeal cookies that were too wet. No pan was going to save them. Once I fixed the dough and the oven, the Nordic Ware Naturals sheet did exactly what it should.
The same recipe, the same oven, the same rack. The only change was the pan, and the bottoms stopped burning on the very first batch.
Fix your cookie bottoms this weekend
If your cookies keep burning on the bottom, start with the pan. The Nordic Ware Naturals half sheet is the one I use for every batch now, and it is the simplest change I have made in thirty years of baking.
Amazon Check Today's Price on Amazon →