
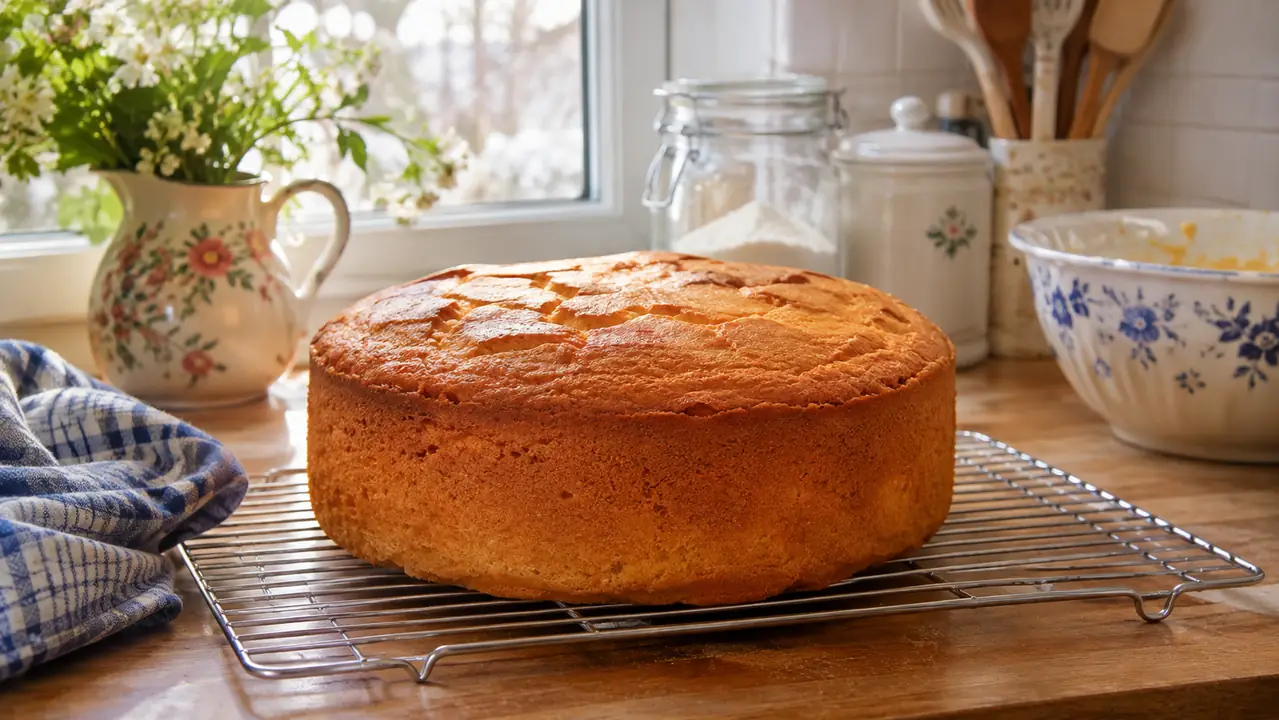
If you have ever flipped a cake out of its pan, waited for it to cool, and then peeled the bottom off the plate because it had gone damp and pale, you already know the problem. It is not the recipe. It is not your oven. It is where the cake sat while it cooled. I am Marlene, and after about thirty years of baking for my family and for our parish bake sales, I can tell you that the fix is simpler than most people expect: get the cake up off the counter and let the air do the work.
I have a small kitchen in northern New Jersey, one standard electric oven that runs a little hot, and no double oven or fancy equipment. So when I say you do not need a pastry chef setup to cool cakes and cookies without soggy bottoms, I mean it. What you need is a cooling rack that lets steam escape, a little patience, and a method that does not rush the process. The Checkered Chef cooling rack is the one I reach for every time.
Start Cooling Cakes the Right Way Tonight
A stainless steel cooling rack is the difference between a cake bottom that peels off the plate and one that stays put. The Checkered Chef rack gives you two racks in one box, with a tight wire grid that supports cakes and cookies without bowing.
Amazon Check Today's Price on Amazon →Step 1: Set Up Your Cooling Station Before the Oven Timer Goes Off
The biggest mistake I see in home kitchens is hunting for the cooling rack after the cake is already out of the oven. By the time you find it, clear the counter, and wash the dust off, the cake has been sitting in its hot pan for five minutes, steaming against the metal. That steam is exactly what makes a soggy bottom.
Before I put a cake in the oven, I clear a spot on the counter and set out the cooling rack. I use the Checkered Chef rack, which comes as a set of two, so one can be holding a cake while the other is ready for the next batch of cookies. The rack has a tight crosshatch wire pattern that supports the cake without bowing, and the heavy-gauge stainless steel does not bend or flex when a hot cake goes on top. I learned this the hard way one Sunday last spring. I had a yellow layer cake in the oven for Ray's birthday, and the rack was in the back of a cabinet under a stack of sheet pans. By the time I dug it out, the cake had been sitting in its pan for a good seven minutes. That cake cooled fine on top, but the bottom came off the plate in pale, damp strips. It tasted fine. It looked like I had baked it in a steam room. Now the rack lives on the counter whenever the oven is on, and I have not had a soggy bottom since.
The rack should sit flat on the counter with nothing under it. Do not put it on a cutting board or a towel. The whole point is airflow underneath. If the rack is raised up on its little feet, air can move under the cake, and that moving air is what carries the steam away.
Step 2: Let the Cake Rest in the Pan for Exactly 10 Minutes
I know the temptation to flip a cake out the second it comes out of the oven. I also know what happens when you do: the cake is still fragile, the edges pull, and half of it stays stuck to the pan. Give it ten minutes. Set a timer if you have to. Ten minutes is enough for the cake to firm up slightly, but not so long that it starts sweating against the pan.
This is where the material of your pan matters. A dark metal pan holds heat longer than a light one, so if your oven runs hot like mine, check the cake at eight minutes. The cake should feel just warm, not hot, when you turn it out. If it still feels hot to the touch, give it two or three more minutes. One thing I have learned over thirty years: the ten minutes start when the cake comes out of the oven, not when you remember to look at it. I keep a small timer on the counter for exactly this, the same timer I use for the bake sale cookies. It has saved more cakes than I can count. The first time I checked a cake at eight minutes, I was sure it was not done because the top looked pale. But the toothpick came out clean, and the cake turned out perfectly. Trust the timer and the toothpick, not the color of the top.
While I wait, I run a thin knife around the edge of the cake to loosen it. This is not a fancy technique. It just keeps the cake from tearing when you turn it out. I also set the Checkered Chef rack right next to the pan so I do not have to carry a hot cake across the kitchen.
Step 3: Turn the Cake Out and Remove the Pan Immediately
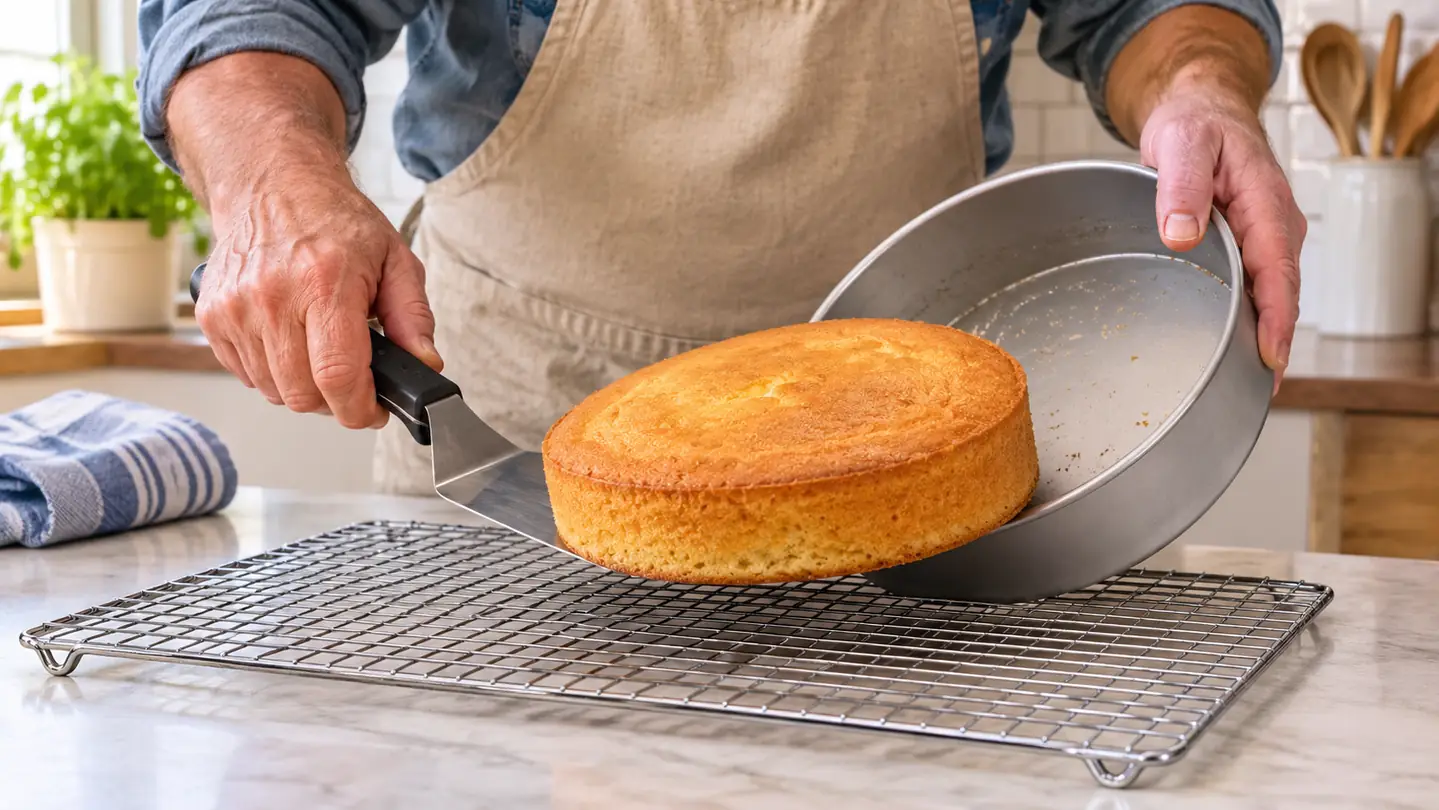
Here is the part that fixes soggy bottoms for good: the cake should not sit in the pan while it finishes cooling. Once the ten minutes are up, place the rack over the top of the pan, hold the pan and the rack together firmly, and flip them over. The cake should drop onto the rack with a soft thump. Lift the pan straight up and off.
Now the bottom of the cake is facing up, and that is exactly what you want. The surface that was against the pan is now exposed to the air. Steam can escape from the bottom as well as the top, which means no trapped moisture, no pale damp patch, and no cake that sticks to the plate later.
If you are cooling a sheet cake, you do not need to flip it. Just lift the whole cake out of the pan using the parchment or the edges, and set it on the rack. The Checkered Chef rack comes in a jelly roll size that measures 10 by 15 inches and pairs with jelly roll pans, so a big sheet cake sits on the grid without sagging in the middle. A batch of bar cookies sits on it with room to spare, and the tight crosshatch grid keeps the middle from dipping the way it does on a flimsy rack with wide wires.
Step 4: Leave the Cake on the Rack Until It Is Completely Cool
This is the step everyone tries to shorten. I understand. The kitchen smells wonderful, the frosting is waiting, and you want to see the finished cake. But a warm cake will melt frosting, slide off its layers, and trap steam under the icing. Wait until the cake is completely cool to the touch, all the way through the middle.
How long does that take? A single layer cake cools in about an hour at room temperature. A thick layer cake or a dense pound cake can take two hours. I do not rush it. I leave the cake on the rack and go do something else. The rack keeps the air moving under the cake the whole time, so the bottom dries out evenly instead of turning soggy. I have learned not to trust the outside of the cake, though. The middle of a pound cake holds heat for a long time, and if you frost it too soon, the frosting slides down the sides in streaks. The kind I make for the bake sale in November can take closer to two and a half hours. I check by touching the center of the cake with the back of my hand. If it feels cool, it is ready. If there is any warmth at all, I leave it another fifteen minutes and check again.
The Checkered Chef rack is sturdy enough to hold a heavy cake without bowing, which matters more than you might think. A flimsy rack dips in the middle, the cake touches the counter, and you are back to a soggy bottom. The tight crosshatch wire pattern on this rack supports the cake across its whole surface, so it cools flat and even.
Step 5: Cool Cookies the Same Way, in Shorter Batches
Cookies have the same problem as cakes, just faster. If you leave them on the hot baking sheet, they keep cooking, the bottoms darken, and the moisture from the warm cookie sinks into the pan and makes the underside soft. The fix is the same: get them off the sheet and onto a rack.
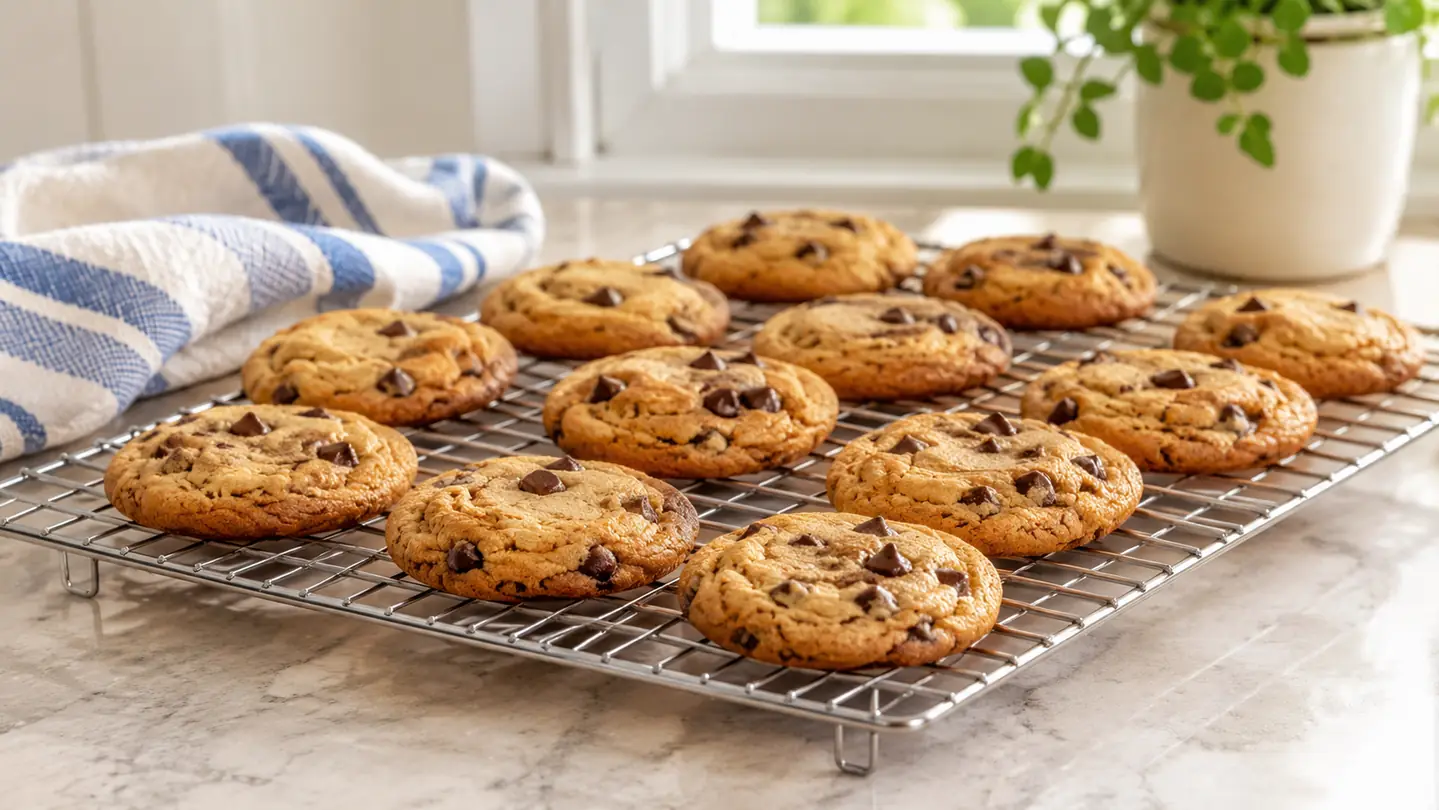
I use a wide spatula to move cookies from the baking sheet to the Checkered Chef rack after they have set for about two minutes on the sheet. The rack holds a whole row of cookies without crowding, and because it is stainless steel, it does not absorb heat or hold onto grease. The cookies cool crisp on the bottom and stay that way in the cookie jar.
For a big bake sale run, the two-rack set earns its keep. I cool a batch of cookies on one rack while the next batch comes out of the oven onto the other. Nothing sits around waiting for a free spot, and every batch gets the same dry, even cool. Last December I baked six dozen chocolate chip cookies for the parish bake sale, two dozen at a time. The first batch went onto the rack after two minutes on the sheet, and by the time the second batch came out of the oven, the first batch was cool enough to go into the tin. The bottoms were dry and crisp. The batch I had rushed the week before, the one where I let the cookies sit on the sheet while I answered the phone, came out with soft undersides that went stale in the tin within a day. Same recipe, same oven, same rack. The only difference was the two minutes.
What Else Helps
A cooling rack does the heavy lifting, but a few small habits make the difference between a good cake and a great one. Use parchment paper in your cake pans so the cake releases cleanly. Turn cakes out while they are still warm, not hot and not cold. Cool cakes in a single layer on the rack, never stacked, because stacking traps heat and moisture. And if you bake a lot in November and December like I do, buy the cooling rack before the holiday baking starts, not in the middle of it. I keep a folded kitchen towel in the drawer nearest the oven for the single job of setting hot pans on, and I never put a warm cake in the refrigerator. The fridge pulls moisture out of the air and onto the cake, which is the fastest way I know to undo everything the rack just did.
One more thing: the Checkered Chef rack is not just for cakes and cookies. I use mine for roasted vegetables, for cooling a pie before I wrap it, and for letting a batch of fried dough drain. A good rack earns its place on the counter.
The cake should not sit in the pan while it finishes cooling. Once the ten minutes are up, get it onto the rack and let the air do the work.
Give Your Cakes a Dry Bottom and a Clean Release
The Checkered Chef cooling rack set includes two stainless steel racks in a tight crosshatch grid that supports cakes and cookies without bowing. It is the tool I reach for every time I bake, and it will last through years of Sunday dinners and bake sales.
Amazon Check Today's Price on Amazon →